Got Bread Questions? Ask a Baker!
The grocery store shelves are absent of bread flour and yeast. A sparse and sporadic selection of All-Purpose and Coconut flours remain in stock. It’s no secret that everyone is baking bread at home. And we love that!
It seems simple enough. You use flour, salt, water, and yeast. And then, boom, bread. Your kitchen is a micro-bakery! But simple components can get complex when time and temperature are factored in. Proof times may vary, starters may look questionable, and a whole lot of confusion can develop around gluten development. August First may be temporarily closed for the next two weeks, but we’re still here to help you get really good bread.
We opened up our Instagram to see if anyone who was curious about bread baking had any questions. As it turns out, you do have questions. Really good ones. And we’ve got bakers, which is to say: answers. Our team, including baker extraordinaires Kyle and August First co-owner Phil Merrick, read over your questions, and their answers are below.
Happy baking!
1. Crumb
I would like to be able to create a very open crumb, the photogenic, too-large-for-practical-use kind. I tend to achieve a nice, honeycomb-ish crumb, like this one. It would be nice to hear how different choices in each stage affect the crumb. For example, Full Proof Baking does a lamination method during the initial bulk fermentation, and she suggests popping the very large bubbles, and she achieves great oven-spring and open crumb, but other sources suggest you never want to release any gas during the process.
Kyle: I’m also Team “Leave The Gas Alone” cause I get nervous that messing with the bubbles will undo all that work the yeast had been doing for us. Try giving us a slightly longer final proof before baking and see if that opens up your crumb a bit more!
Phil: For the type of open crumb you are looking for I would recommend 3 things that will help, some of which you might already be doing. 1) No more than 20% whole grain. The bran in whole grain flour acts like little razor blades deflating the gluten balloons. 2) Higher hydration. 3) longer periods between folds, that is allowing the dough to ferment more and handle less throughout the process. Folds are necessary to build strength and structure, especially at higher hydration, but if you are folding before adequate fermentation, you are possibly building too much tightness and the crumb won’t open up.
2. Shaping
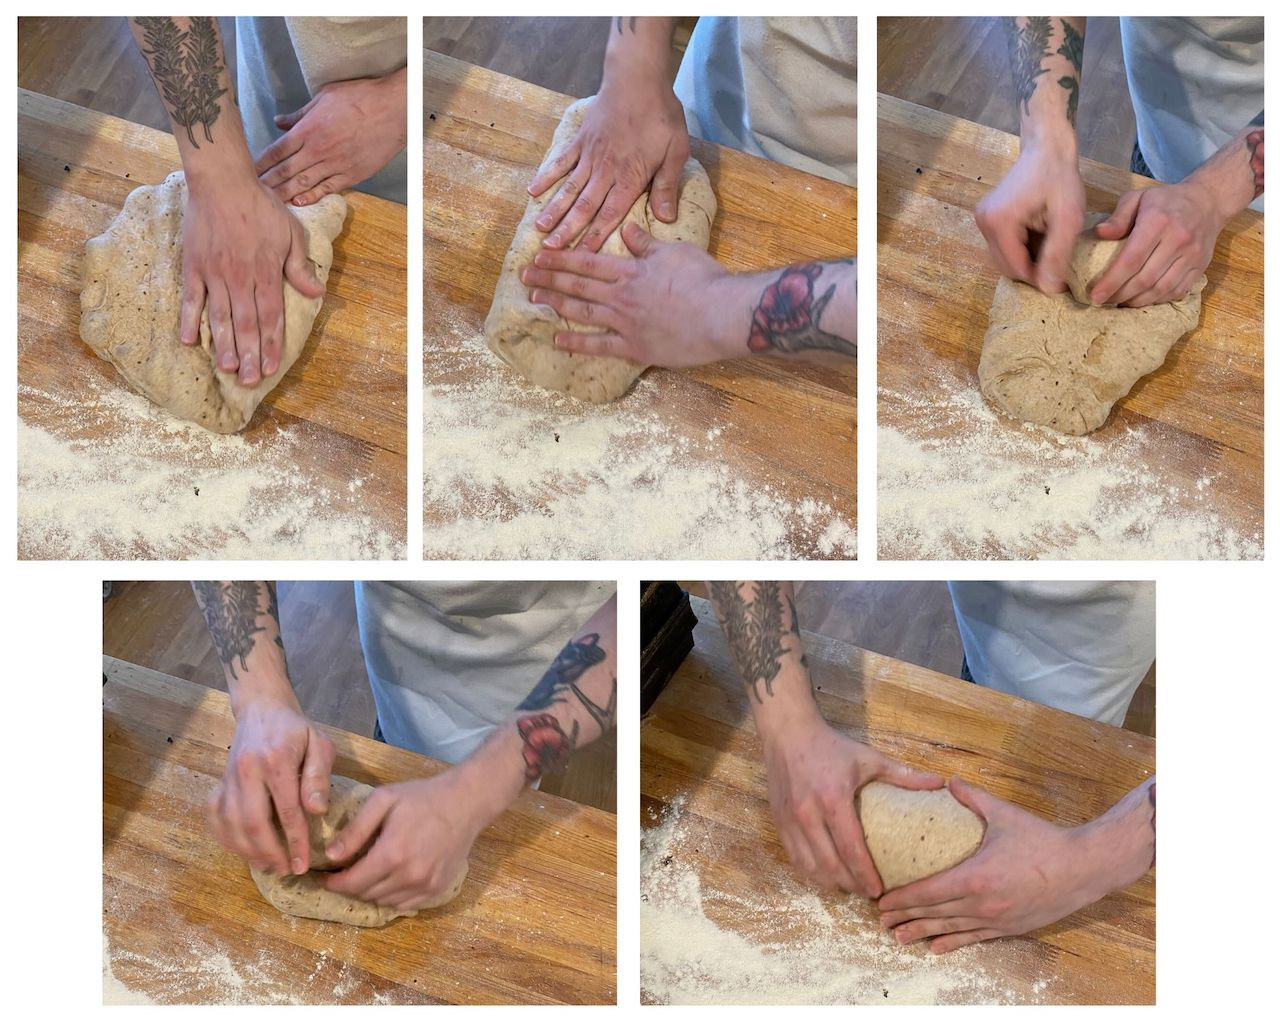
There seem to be different methods of shaping, but the overall goal seems to be to build some structure and tension in the dough for oven spring. I am wondering if I am doing the stages beforehand incorrectly, because I can do the basic envelope folding decently, but my dough can’t seem to handle much more than that. For example, Sourdough Tim does the envelope folding that you read about in books like Tartine, but he also pinches it up and then folds it over one more time. If I try to pinch it up, the skin breaks, the dough gets sticky, it sticks to me but not to itself, etc. It’s just a mess — I can never really get my dough to do what others’ do in their videos, no matter how similar my dough looks and feels in the preceding stages. So I wonder if I am missing a core key step. Like, during mixing, maybe I need to mix more to get a smoother dough off the bat? In my bulk fermentation, my dough grows by ~50%, and in pre-shaping, I get a nice taught surface that then pancakes out a bit when it relaxes, but not too much.
Kyle: Trying to emulate other people’s techniques perfectly can be a recipe for stress (stressipe?) and bread shouldn’t be stressful right? Seems to me like the issue is over handling the dough if it’s sticking to you without holding the tension you’ve built. A wise baker told me once to touch the bread as little as possible when shaping, I try to have only my fingertips very gently in contact with the dough itself. Maybe try very lightly flouring your hands for a little extra buffer as well.
Phil: Less is more. Do the job and get out. The dough has a smooth surface that should never be broken. If it is flattening excessively after the pre-shape you might be just waiting too long. It could also be over-hydrated. Try this: pre-shape, wait until it is slack, pre-shape again, repeat until it holds it’s shape for 10 minutes. If it’s taking more than 3 turns you could either be undermixing, or over-hydrated.
3. Grains
I would be interested in hearing a professional baker discuss the different grains and their effects on the dough and bread. I have some understanding from what I’ve read and seen, but it would be interesting to hear things like rye, spelt, whole wheat, etc. compared.
Kyle: This is such a great question but a difficult one to answer concisely. The long and the short of it is that the different grains have varying amounts of gluten-forming proteins which affects the density of the crumb and its ability to rise.
Phil: In general, wheat is the only grain that has the type of gluten that makes “bread”. Spelt is a type of wheat. It has gluten, but it is much weaker. There are proteins that are technically gluten in several other grains, but generally they don’t do the gluten thing that wheat does. Whole wheat has plenty of gluten, but it also comes packed with abrasive little bits of bran that interfere with the continuous gluten sheets. Whole grains tend to have more enzymes, minerals, etc., so will effect the rate fermentation, generally speed it up. Rye in particular is very enzyme-y (is that a word?). Rye can help speed up fermentation, develop a dough faster, etc, but in some cases really drag down the oven spring if the enzymes are in excess. Barley flour made from sprouted, or malted, barley is often added to flour to increase the malt sugars and related enzymes in bread. It makes the bread have a brighter color profile, tastier crust, and increases oven spring in many types of bread.
(Stay tuned for a Breaducation dedicated to this topic!)
4. Proof post-shaping
So I’ve tried shaping and going straight to the fridge for 12-20 hours; shaping and leaving at room temp. for 3-6 hours; and some combinations of the two. I am curious about the reasoning behind these different methods and their effects on the final result.
Kyle: The reasoning really comes down to flavor development once you’ve reached the final proof. Having it proof in a cold space slows or retards the yeast, allowing for a more mature flavor profile as it ferments at a slower rate, whereas proofing at room temperature will hasten the rise for baking but the flavor will be more mild overall.
Phil: So much of the bread’s schedule is actually based on what works for you. Figure out what schedule works for you, then manage times and temperatures to achieve your schedule. Wheat is a seed, so wheat flour contains all the cells and chemistry of the wheat seed. When a wheat seed gets wet it begins to sprout. Wheat flour contains all those same chemicals, such as enzymes and starches, that interact. Wheat sprouting, once initiated, has lower active temperatures than the yeast, and bacteria used to rise bread, so by keeping the dough cool for extended periods, these processes are able to proceed without an overgrowth of yeast. Once the dough is warmed up, the yeast revs up and the wheat starches and sugars that are available from the “sprouting” process are available to feed the yeast and make a more flavorful bread. Shorter fermentation is often achieved using added sugars, and/ or large quantities of added yeast. Grandma’s bread was made this way. It is very yeasty as opposed to wheaty.
5. Oven spring
I get decent oven spring and I make a good loaf, and so this is completely vanity, but I would love to achieve the dramatic oven spring where a loaf opens six inches or more, like this.
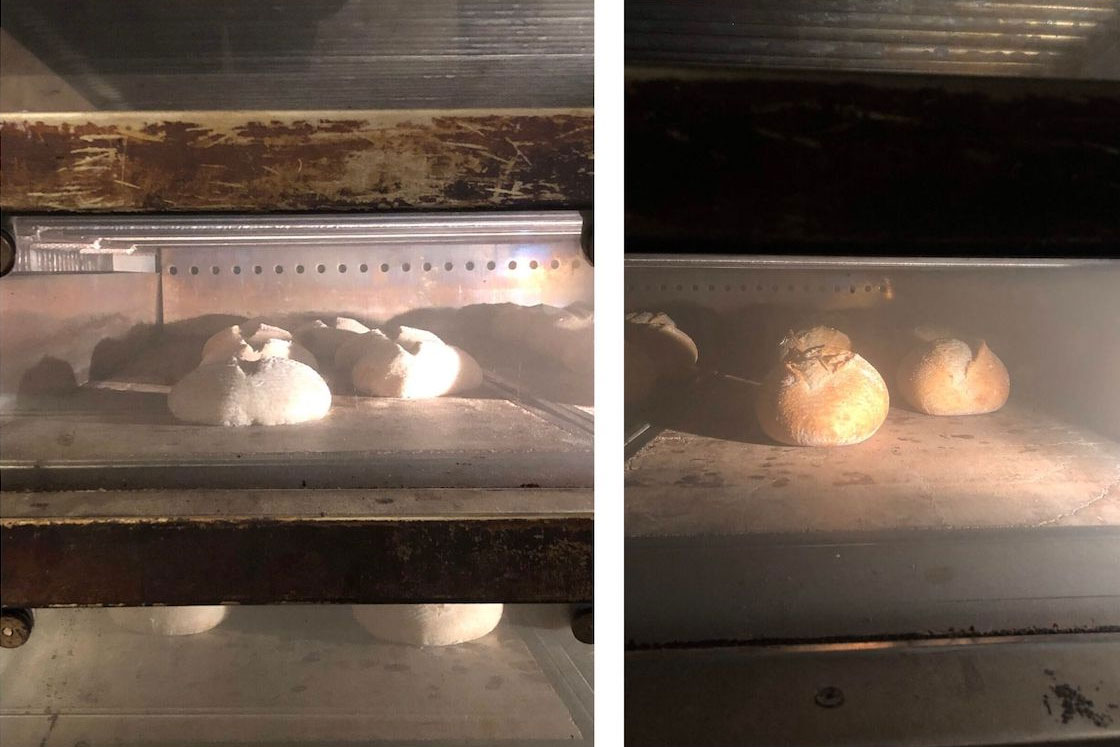
Kyle: It’s all in building a strong dough with good gluten development and a screaming hot oven right at the start of the bake
Phil: So much of oven spring is about timing. The right amount of fermentation, the right amount of mixing, the right number of folds, the perfect proof. Most commercial baking flour has malted barley flour in it. Check your flour. If there isn’t any in it, you might try adding some, or changing to a brand that does. The malt and associated enzymes will increase oven spring a little bit. Are you making dough with yeast, or starter. Starters tend to make doughs that spring better.
6. Crusts
My crusts lean towards being soft. They are crunchy and nice, but I would be interested in learning about variables that affect the crust. So far I’ve had some success with simply baking longer at the same or a lower temperature, but I assume there is more I could be doing.
Kyle: Your big three variables that’ll change your crust crispness are: Baking Temperature, Baking Time and Moisture. You’re on the right track with baking longer, but see if you can play with raising the heat in your oven or scaling back a little bit of the water content of the dough so it evaporates faster. You should be full-cronch in no time.
Phil: I’m going to differ a bit with Kyle on this one. Dryer dough actually makes for a softer crust. I know it is contrary to common sense. But wetter dough will make a crunchier crust. This goes for pizza as well as bread. Longer, cooler fermentation will help as well. There needs to be some dough development (see my answer above). Remember to use less yeast if you go for a longer ferment. You can tell by the color of the crust if your fermentation is right. It should be “bright” colors, such as orange, and rich browns. Tan, or dull browns can indicate a lack of fermentation, or excess fermentation (I know, contradictory again). But increased hydration will likely solve the problem, all else in place.
7. Starter
My starter is a week old, and it doesn’t gain any volume. Is that okay? There are bubbles!
Kyle: Well the bubbles are a good sign that the starter is still doing ok. There’s a number of factors that could lead to not much growth such as the level of hydration or even the surface area of the container it’s in! See if changing any of those things does anything, but if you’re still getting good bubblage and feeding regularly I wouldn’t worry too much about it.
Phil: Refresh the starter 3 times over the next 24 hours and see what you get. You should always do this before making bread with old starter. Starter is a mixture of flour (food), water, and microbes (yeast, bacteria). The balance of the different microbes changes with the environment and food supply. Some of them will survive the storage conditions better than others, but you aren’t trying to make Goo, you’re making bread. By going through the refreshments, you are changing the environment back to rising bread and the microbes that do best in that environment are the ones you want to support. You are re-balancing the starter.
8. Hooch
What is the liquid my starter develops on top?
Kyle: Fun Fact: This is called “hooch.” It’s the naturally forming alcohol caused by the yeast fermenting! Thankfully it’s no cause for alarm, it just means your starter is probably getting a bit peckish and should be fed soon. You can either drain the hooch out or stir it right back into the starter, totally up to you.
Phil: As the proteins and starches in your flour degrade with digestion, their ability to hold the water in the dough matrix decreases. The solids sink, and the water and other liquids, like alcohol, sit on top.
9. Stitch
What is your favorite sourdough stitched technique?
Kyle: So I’ve never actually shaped using the stitching technique, instead I tend to rely on the friction of my bench to give me the seal I want.

10. Gluten
What should gluten development look like before starting the folding stage of sourdough?
Kyle: What I look for is dough cleanly pulling away from the mixing bowl, loud slapping if mixed using a dough hook, and a successful windowpane test, aka gently stretching a piece of dough until see-through without any tearing
11. Proofing
What do overproofed and underproofed loaves look like?
Kyle: Both look like utter heartbreak if you ask me. But to answer your question, an underproofed loaf will be very short and squatty, pucklike almost, due to the lack of CO2 bubbles to cause the expansion and lovely rise we’re all begging for. Overproofed loaves on the other hand, tend to collapse; either spreading out completely flat or, if in a pan, sort of melting and sagging over the vessel it was baked in. This happens cause the yeast has greedily eaten to the point of causing major structural damage to the gluten you built up. Like termites.
Phil: Yes. Think of gluten forming into balloons. The rising bread fills the balloons with gasses. If the balloons are too small, the bread will be dense, but also, the walls of each balloon will be too thick and unable to expand. If the balloons over inflate, they begin to tear and the bread falls. There are also loaves that are in-between. Underproofed loaves that have oven-spring, but it’s violent, blow out the side kind of spring, or over-proofed that is just kind of do nothing in the oven.
12. Starter
What’s a good way to test if your starter is ready for baking? About how long does it usually take for starter to be ready for making after the last feeding?
Kyle: Much like a witch, a rarin’ to go starter will float in water! Unlike a witch, a frothy top on your starter is also a good sign. As for timing, I’ve had good luck with using the starter about 4-5 hours after feeding.
13. Wholemeal Starter
Can I make starter with Irish wholemeal?
Kyle: Absolutely, but make sure to give it plenty of time to reach full maturation since it’s a wholemeal flour. At least 7 days has been the consensus I’ve seen in the research I did.
Phil: I have no idea what Irish wholemeal is, but generally it is best to make starter with the flour you intend to make your bread from. That way the microbes will be best adapted to work with your flour. In general, whole grain flour ferments faster than white flour due its higher levels of minerals and enzymes. If you are referring to making an initial starter, any flour will work. How long it takes is a bit of luck, so the Irish wholemeal, with the luck of the Irish, might just be the best way to get started.
14. Proofing Methods
Best proofing methods?
Kyle: If everyone could have a proofing box with adjustable heat and humidity settings I’d be happier than a clam at high tide, but barring that my favorite proofing method is just to keep my covered bowl of dough next to the warm oven soaking in that ambient heat, but not on the range so as not to dry out the underside.
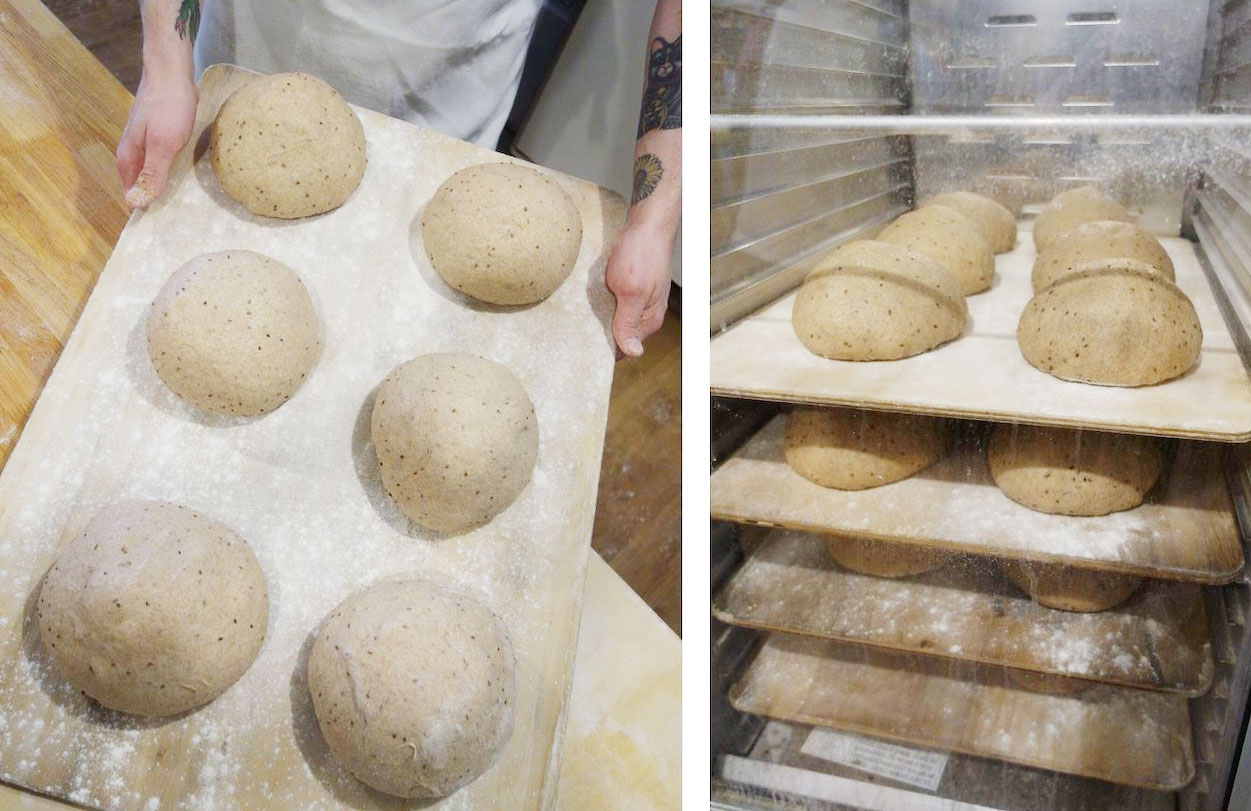
Phil: Best proofing depends on your schedule. I was brought up in the bread business only using the term “proof” for the final proof, so that is what I assume you mean. All other time of rising dough I called fermentation. I have done final proofing at 62F for over-night for years. My favorite method actually. Mix the dough after dinner to about 78-79F. Let ferment for 1 hour folding every 15 minutes, then proof at 62F in the pan, or on cloth, or in a basket for about 8 hours. Straight to the oven.
15. Yeast
Where can I find high quality yeast, or does that matter?
Kyle: Most grocery store yeasts will do your job for you just fine, so I wouldn’t worry too much about finding the “highest quality” yeast brand, but a lot of bakers swear up and down that Fresh Yeast (also known as Compressed or Cake Yeast) in the refrigerated section (with the butter usually) will produce the most perfect breads first time, every time. Here at the bakery we’re partial to SAF-Instant Red Label instant yeast for all the breads we make. This gal will put in the work no matter what dough you’re working with!
Phil: Most of our bread also contain a starter (sourdough). As far as yeasts go, the dry yeast tends to be more reliable than the fresh. Many older bakers, and some hipsters prefer the fresh, but the dry is purer, “fresher”, and easier to scale. Fresh yeast can go bad, as can the dry. But the dry yeast goes bad over the course of the year rather than the course of the week or two. Some bakeries that have operated for long periods using fresh yeast will continue to do so because their schedule relies on the rate that they can expect the dough to activate, which I believe gives them about 15 minutes. If you do an auto-lyse, but want the dough to jump immediately afterword, then fresh yeast is good for that. We incorporate the dry yeast with the flour, so it is ready by the time the auto-lyse is over.
Note: Our neighbor Restaurant Poco is currently selling SAF-Instant Red Label yeast through their website.
16. Finding Yeast
If I can’t find yeast, what do I do?
Kyle: Try making a baking soda based recipe like Irish Soda Bread or a yogurt based bread like Naan!
Phil: With a little patience, sourdough is always available. Recipe: 1 cup water, 1 cup flour. Place in a jar on the counter. Wait for bubbles and refresh. Sometimes it happens in 2 days, sometimes it might take a week. Once it is active, continue to refresh whenever it doubles in size. Over the course of a week or so this time will reduce as the balance of microbes gets better and better at living in the environment that you provide.
17. Compressed Yeast
Suggestions for someone trying to bake with compressed yeast?
Kyle: The most important thing I can think of is making sure you have your conversions right when going from dry yeast to compressed to account for the extra moisture. Red Star Yeast has an easy peasy table here: https://redstaryeast.com/yeast-baking-lessons/yeast-conversion-table/

Here’s a throwback August First Garlic Naan recipe from Jodi and Phil!
18. Ears
Sometimes I get nice ears, and sometimes not, even when I score at an angle. In the photo attached, for example, the loaf on the right has no ears and the one on the left has slight ears, although I scored at a similar angle for both. Do you happen to know when they show up and when they don’t?
Kyle: My best guess would be that the cuts aren’t deep enough even if you’re going in at a good angle. Don’t be afraid to be bold, be aggressive, slash that bread!
Phil: Ears are more of a function of correct proof, and correct fermentation, type of dough. Cutting at the right angle is the final little detail. Many breads we would never expect ears, especially those high in whole grain.
